Fixing Up a Truck
Buying the unit is the easy part. Turning a tired used truck or trailer into a kitchen that passes inspection, cooks my menu, and doesn’t strand me at a festival — that’s the real work, and it’s the part I actually enjoy. I’m a maker at heart; I’d rather understand every system on the truck than pay someone to hide it behind a panel. So this is my system-by-system rehab: what each part does, how to size it, where the code lines are, and my honest call on what to do myself versus what to hand to a pro. Do this well and the rest of the business gets a lot easier.
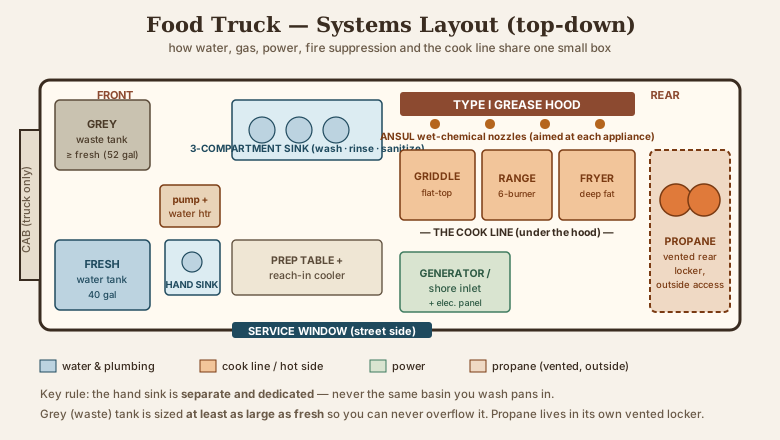
Before I open a single panel, I keep this whole-truck layout in my head, because every system has to share one small box without fighting the others:
The chassis, engine — or the trailer’s frame and axles
Start with what carries everything, because a beautiful kitchen on a dead drivetrain is a lawn ornament. On a truck, this is the engine, transmission, brakes, and frame — treat it like buying a work vehicle. Fresh oil and fluids, a real brake inspection, check the frame for rust-through (especially around the rear where the box loads it), and don’t ignore a soft transmission; a step-van rebuild can cost more than the kitchen. On a trailer, there’s no engine to worry about, but the frame, axles, bearings, brakes, and tires are the whole story. Repack or replace bearings, test the electric brakes, and replace tires by age, not tread — trailer tires dry-rot and blow out even when they look fine, and a blowout on a loaded concession trailer is a bad day. This is unglamorous and I mostly hire the drivetrain out; brakes and bearings are not where I get creative.
Power — generator vs. shore vs. battery/solar
Everything electric on the truck rides on your power system, and getting it sized right is the difference between a smooth service and a griddle that browns out every time the fridge kicks on. There are three sources, and most trucks use two of them:
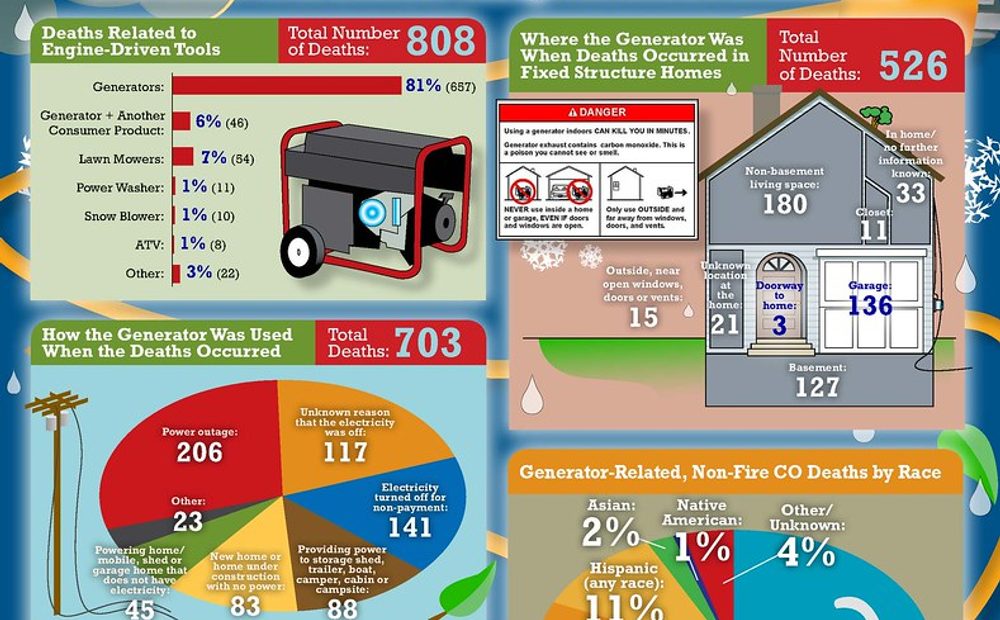
- Onboard generator — the workhorse of a mobile build. It runs everything off-grid at any event. The whole game is sizing it to the load: add up the running watts of every appliance that can be on at once — refrigeration, lights, griddle, warmers, POS, water pump — add the starting surge of anything with a compressor or motor, and buy a generator with real headroom above that. An undersized generator is the single most common misery on a used truck; it browns out, trips, and cooks itself. Size for the peak, not the average.
- Shore power — a plug-in inlet so you run off building power when it’s available (a commissary, a brewery that offers a hookup). Quiet, free, and easy on the generator. Wire in a proper shore inlet and transfer setup so you can switch cleanly.
- Battery / inverter / solar — increasingly viable for the quiet loads (lights, POS, fans, small refrigeration) so the generator isn’t screaming all day for a phone charger. Solar won’t run a griddle, but a good battery bank can carry the housekeeping loads and let you run “gen-off” at a quiet market. I like this more every year.
Do the load math on paper first. It decides your generator, your wiring, and your panel all at once.
Plumbing — tanks, heater, pump, and the sinks the code demands
Water is where inspectors are strict and used trucks are weak. The system is: a fresh-water tank, a pump to pressurize it, a water heater for hot water, and a grey-water (waste) tank that catches everything that goes down the drains. The rules that trip people up:
- Grey ≥ fresh. Your waste tank must be at least as large as your fresh tank — the logic is that you can never dump more clean water in than dirty water out, so you physically can’t overflow the grey onto the ground. Size them together; I run the grey a bit bigger than fresh for margin.
- Hot water that’s actually hot. A real water heater, sized so you can wash and sanitize through a service without going cold.
- A 3-compartment sink PLUS a separate hand sink. This is non-negotiable in a licensed unit. The three-compartment sink (wash / rinse / sanitize) is for dishes and utensils. The hand sink is a separate, dedicated basin used only for washing hands — you may never wash a pan in it, and it can’t do double duty. Both need hot and cold. If a used truck has one and not the other, or someone plumbed the “hand sink” as a third prep basin, that’s a fail waiting to happen.
I’ll do plumbing myself — tanks, pump, lines, and the sinks are within a careful DIY reach and it’s satisfying work. But I pressure-test everything and I confirm my exact tank sizes with the health department before I buy tanks, because the ratio and the minimums are local. See food safety for why the sanitize step matters as much as the plumbing.
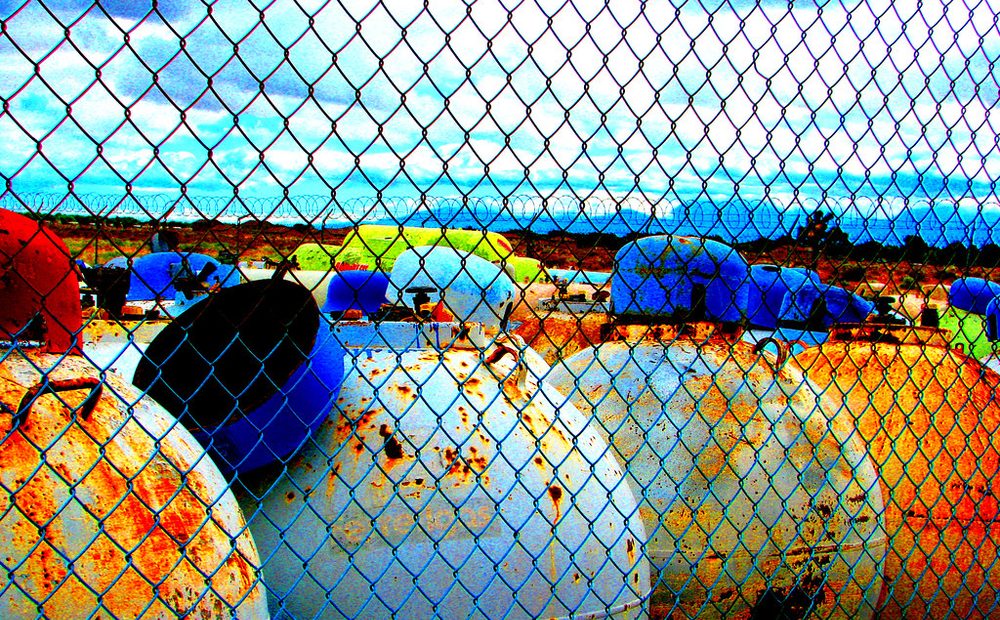
Propane — tanks, regulators, hard lines, leak test, inspection
If I’m careful anywhere, it’s here, because LP gas is the system that can hurt someone. A propane setup is tanks (mounted in a vented locker with outside access, never inside the cook space), regulators to step the pressure down, and hard lines running to each appliance with proper fittings and shutoffs. Old hoses crack, old regulators drift, and prior builds love to cut corners here. Everything gets a leak test (soapy water on every joint, or a proper pressure test), and in Michigan the propane system gets its own LP-gas inspection before you operate. This is the one system where I’ll happily hire a licensed gas fitter for the final hookup and sign-off — I’ll rough it and mount it, but I want a pro’s eyes and a stamp on the gas. If your menu can run electric instead, that’s a real reason to consider it; I weigh gas versus electric appliance by appliance over on electric vs. gas.
The cooking-line layout — workflow in a corridor
You’re cooking in a hallway, so the order of the line is everything. I lay it out as a one-way flow: cold storage and prep at one end, the hot line (griddle, range, fryer) in the middle under the hood, and plating/pass at the service window — so a ticket moves in one direction and cooks aren’t crossing each other. Put the reach-in where you open it a hundred times without turning around. Keep the fryer at the end of the hot line, away from where you’re reaching, because it’s the thing that burns you. I mock the whole line up in tape on the floor and pretend-cook a rush before I bolt down a single thing. Space you don’t have to walk is space you’re cooking in.
Towing a support trailer
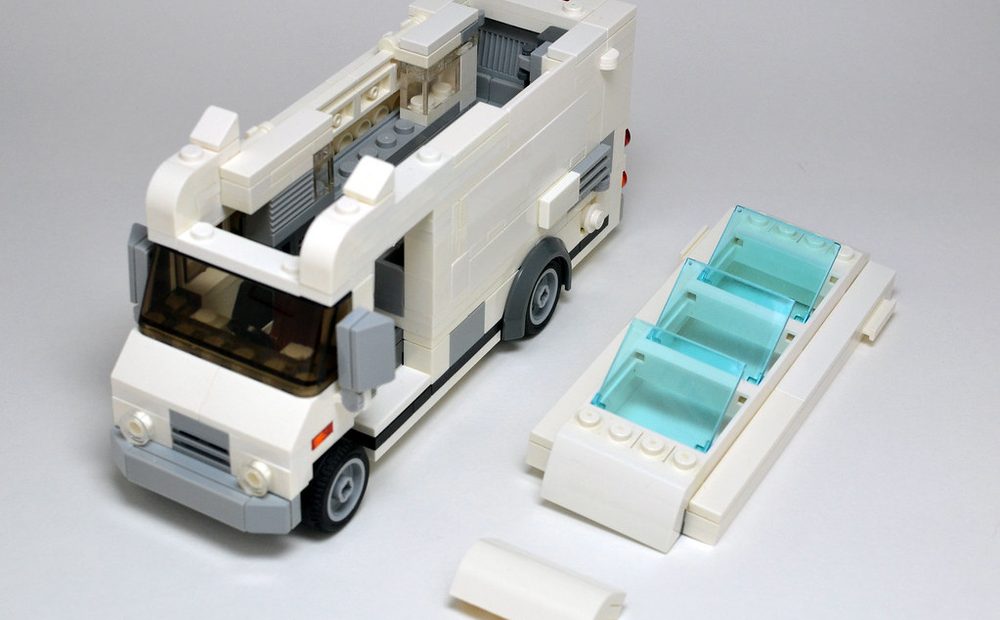
A truck doesn’t have to carry everything on its own back. One of the smartest moves on a build is to tow a support trailer behind the truck and let it take the loads that don’t belong in a cramped, hot galley. Three things in particular want to live out there:
- The smokers and the wood. Smoking has to happen outdoors or under serious exhaust — I cover exactly why on smoked fish and meat — so a smoker was never going inside the box anyway. On a trailer it rides where it belongs, in open air, with a rack of split wood (hickory, oak, applewood) alongside it. I pull into an event, and the smoker is already loaded and running brisket and salmon while the truck works the line.
- The generator. Push the genset onto the trailer and the truck gets quieter, cooler and less cluttered — the noise and heat move a few feet away from where I’m cooking and where customers stand. (Sizing and the shore-vs-generator tradeoff are in the power section above.)
- Bulk storage and a prep bench. Cases of flour, spare propane, dry goods, a backup cambro of brine — the stuff that eats galley space it shouldn’t.
And here’s what turns a support trailer into a profit center: put a service window on it. The truck’s window sells the hot, cooked food; the trailer’s window sells the packaged bakery goods — loaves, bagels, cookies and jars of jam. Two windows, two lines, one rig. If I’m running the cottage-only model with no cooking at all, that trailer window is the whole business — a farm stand on wheels (the legal lines are on rules and regs). Either way, mind the tow rating and the hitch: match the loaded trailer weight to the truck’s rated towing capacity and GVWR, wire the trailer’s brakes and lights to code, and remember the combined length changes where you can legally park and how you turn. It’s one of the cheapest ways to add real capacity without buying a bigger truck.
The Type I hood and ANSUL fire suppression
This is the system that makes grease cooking legal, and there’s no cutting it. Any cooking that throws grease — griddle, fryer, char-grill — needs a Type I (grease) hood to capture smoke and grease-laden vapor, and that hood must carry a wet-chemical fire-suppression system (ANSUL is the common brand) with nozzles aimed at each appliance, a fusible-link trigger, and a manual pull. It has to be professionally installed and inspected and tagged, and that tag has to stay current. On a used truck, a missing system or an expired ANSUL tag is an automatic inspection failure and one of the pricier fixes. I do not touch this myself — it’s designed, installed, and certified by a fire- suppression company, full stop. (If a chunk of your menu is electric and grease-free — say an electric convection oven or a steamer — some jurisdictions allow a lighter Type II hood or a ventless setup, which is a genuine reason to lean electric where you can; details on electric vs. gas.)
The electrical panel and interior finishes
Tie the power system into a proper labeled panel — real breakers sized to each circuit, GFCI protection anywhere near water, and no extension-cord “wiring,” which is both a fire risk and an inspection fail. I’ll do the low-voltage and the layout myself and have an electrician verify the panel and any shore-transfer wiring.
Then the surfaces, which are pure health code: walls get FRP (fiberglass-reinforced panel) — smooth, white, wipeable, sealed at every seam so nothing porous touches food. The floor gets a smooth, washable, non-absorbent surface with coved (curved) edges where floor meets wall, so there’s no square corner for grease and crumbs to hide and every inch hoses down clean. Get the surfaces right and the daily cleanup — and the inspection — gets dramatically easier. This is the same surfaces-first thinking behind food safety.
The wrap and branding
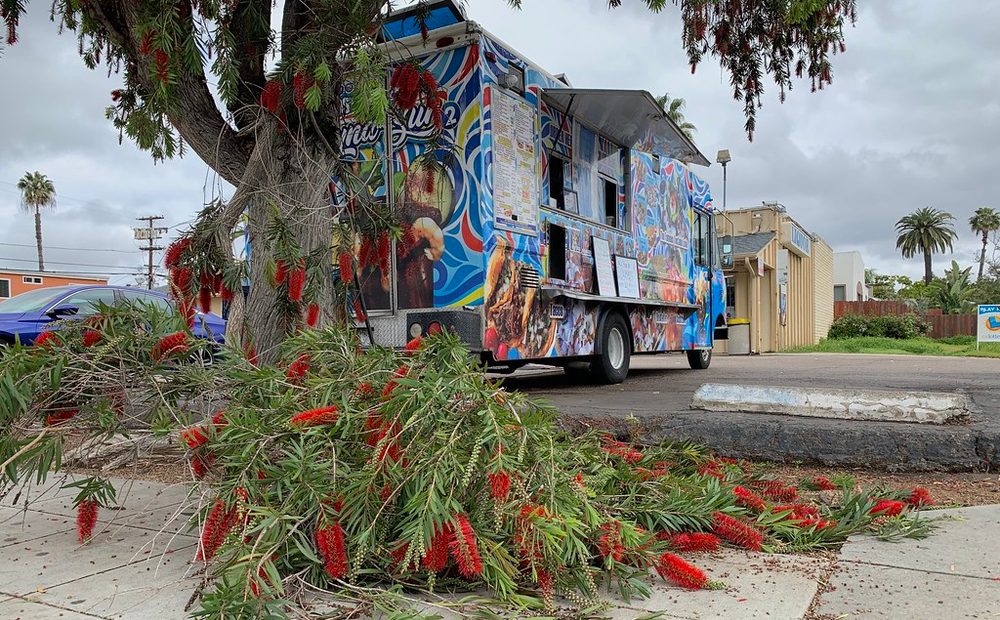
Last, and it’s the fun part after all that plumbing: the wrap. A vinyl wrap turns the truck into a rolling billboard and is far cheaper and more changeable than paint. I’d get the food and the systems right first and wrap last — a gorgeous wrap on a truck that fails inspection is lipstick on a problem — but once it runs, the wrap is the cheapest marketing you’ll ever buy. Every event puts the name in front of a new crowd.
What I’d do myself vs. hire out
Being candid, because “just DIY it” is bad advice on the systems that can hurt you or fail an inspection:
| System | My call |
|---|---|
| Plumbing (tanks, pump, heater, sinks) | DIY — careful work, pressure-test it, confirm tank sizes with the health dept first |
| Interior finishes (FRP, coved floor) | DIY — patient, satisfying, and cheap to do right |
| Cook-line layout & mounting | DIY — tape it out, cook the rush in your head, then bolt it down |
| Electrical panel & shore transfer | Hire / verify — I lay it out, an electrician signs off the panel |
| Propane final hookup & leak test | Hire — licensed gas fitter, then the LP-gas inspection |
| Type I hood + ANSUL suppression | Hire, always — designed, installed, and tagged by a fire-suppression pro |
| Engine / transmission / brakes / axles | Hire — not where I get creative |
The pattern: I do the work that rewards care and can’t hurt anyone, and I pay professionals for the systems where a mistake is a fire, a gas leak, or a failed inspection. When the rehab’s done, the paperwork side — plan review, the health, fire, and LP-gas inspections — is all on rules and regulations, and if you’re still choosing a unit to rehab in the first place, that’s buying used vs. new.
Comments (0)