Outfitting a Small Kitchen
When I finally sat down to lay out the bakery, the thing that clicked for me was that a commercial kitchen isn’t a pile of equipment — it’s a flow. Flour comes in one door, and what leaves is bread, bagels, cookies, jars of jam, and a hot breakfast sandwich. Everything in between is a series of stations, and if you line them up in the order the work actually happens, a small room stops feeling cramped. I’ve cooked and eaten my way through kitchens in every US state and thirty-some countries, and the tiny ones that hum are always the ones where you can watch the product walk from station to station without anybody crossing paths.
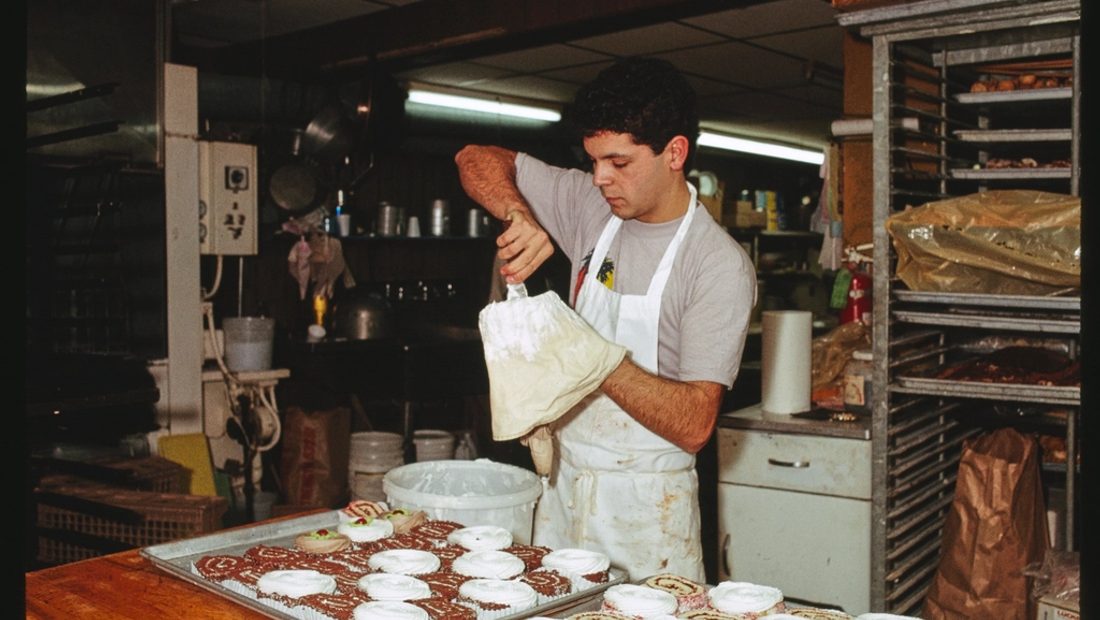
So this page is my build-out, walked zone by zone. I’ll tell you what each zone actually needs and — this is the whole trick with a small space — how to size it down without kneecapping the operation. For the reasoning behind buying commercial gear in the first place, see Why commercial equipment; for how I decide when cheap is fine, see Cheap vs. quality and Buying used. The dollars for all of this live on The Numbers.
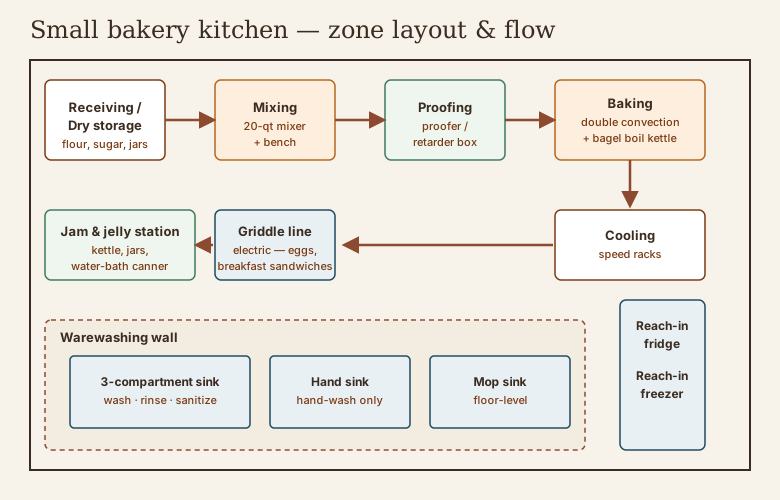
Here’s the whole room at a glance — the zones in the order the work flows through them:
Receiving & dry storage
Every kitchen needs a spot where deliveries land and stay — off the floor, on shelving, first in / first out. For a bakery this is mostly flour, sugar, and salt in bulk, plus cases of canning jars and lids for the jam and jelly side. I keep 50-lb bags of flour in rolling ingredient bins with tight lids (mice and pantry moths will find an open bag in a week), and everything else on wire shelving rated for the load. The rule that keeps you legal and sane: nothing on the floor, bottom shelf at least six inches up, and every container labeled and dated.
Sizing small: you don’t need a walk-in dry store. A single run of heavy wire shelving down one wall plus four or five ingredient bins covers a surprising amount of production. Buy the shelving in the tall, narrow footprint and go vertical.
Mixing
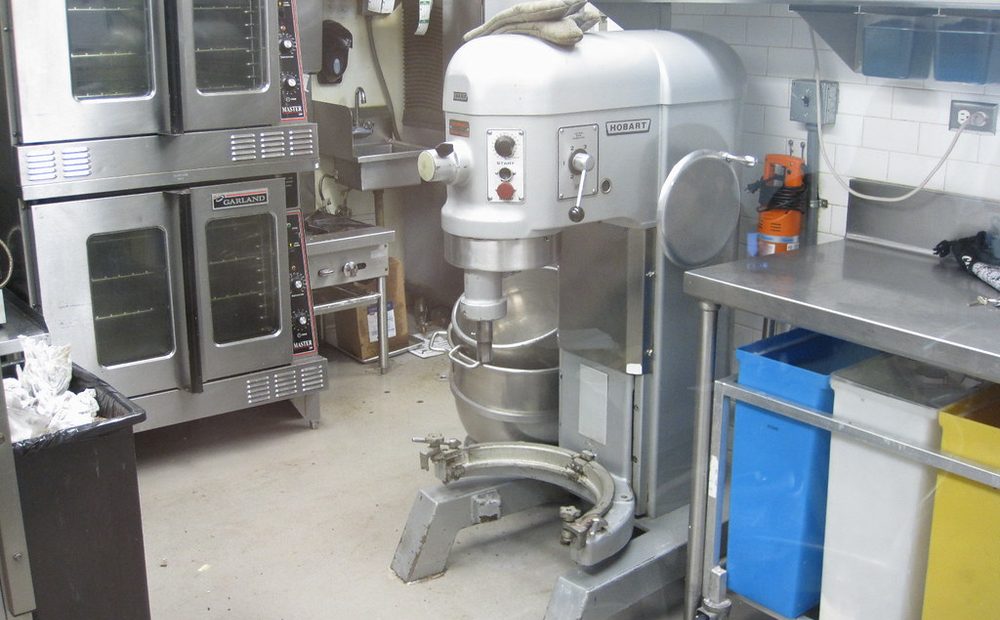
This is the heart of a bread bakery, and it’s the station I fussed over most. I run a 20-quart Vevor planetary mixer for my doughs. I say that plainly because it surprises people who expect a Hobart — but the Vevor commercial mixers genuinely earn their reviews (their convection ovens are a different, cautionary story; more on that below). A 20-quart bowl handles a comfortable batch of stiff bagel dough or a couple of loaves’ worth of sourdough without bogging the motor, and it cost me a fraction of a used name-brand. I still read every 1–3★ review before I bought — see Cheap vs. quality for exactly how I do that.
Next to the mixer you want a bench — a stainless worktable you can flour up and turn dough out onto, portion, shape, and bench-rest. I like a table long enough that I can have a scale at one end, a bench knife and dough in the middle, and shaped pieces heading to the proofer at the other. Dough work and shaping are covered on my Artisan breads and Sourdough pages, and the bagel-specific handling is on Bagels.
Proofing
Here’s the zone home bakers underrate and pros never skip. A proofer/retarder is a temperature- and humidity-controlled box, and it’s the difference between bread you hope turns out and bread you schedule. Two jobs in one cabinet:
- Proofing — a warm, humid environment (around 80–95°F) that gives you a predictable final rise instead of chasing a moving target around a drafty room.
- Retarding — chilling shaped dough to slow fermentation way down, so I can shape in the afternoon and bake in the morning. For sourdough this cold retard is where a lot of the flavor and that blistered crust come from, and for bagels an overnight cold rest is basically non-negotiable if you want the chew right.
A reach-in proofer/retarder (the units that do both, switching between warm and cold) is the single piece I’d tell a small bread-and-bagel shop not to cheap out on, because it turns a one-person operation into something you can actually plan around. Sizing small: a single half-height or full reach-in on casters is plenty; you don’t need a walk-in proofer to run a respectable bake.
Baking
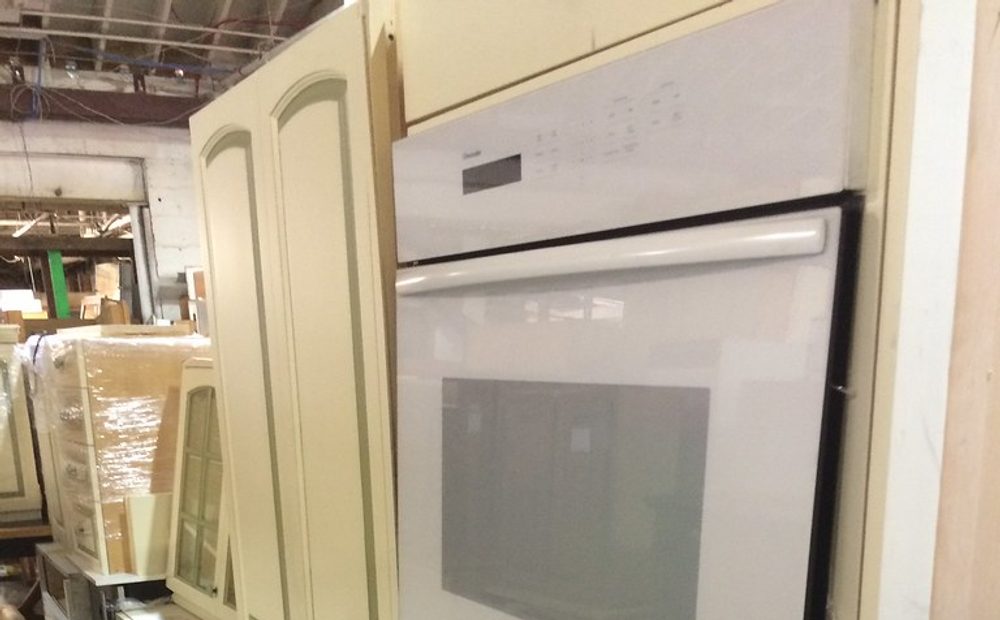
My oven is a double Blodgett electric convection — the classic bakery workhorse. When I bought it, the first things I checked were that both decks came up to temp evenly, that the fans and door gaskets were healthy, and that it was a voltage I could actually feed (these run 208–240V, single- or three-phase — know your service before you buy). A double gives me two independent chambers, so I can hold bread at one temp while cookies run at another.
A quick word on deck vs. convection, because bakers argue about it. A deck oven bakes on a hot stone hearth with radiant bottom heat and steam — it’s the traditional artisan-loaf and bagel setup, and it gives a spring and crust that’s hard to fully match. A convection oven moves hot air with fans, so it’s faster, more even rack-to-rack, and far more flexible across cookies, sandwiches, and multiple loaves at once. For a small mixed-menu shop I lean convection for the versatility and the smaller footprint, and I lean it electric on purpose — which I explain at length on Electric vs. gas, because the ventilation freedom of a no-grease electric oven is a real reason. There’s more on oven choices for bread specifically on my Bread ovens page.
Bagels need one more thing: a boil kettle. Real bagels get boiled before they bake, so I keep a dedicated electric kettle or a stockpot on a burner in the baking zone, big enough to float a batch with a little malt or lye in the water. It’s a small piece of gear that completely defines the product — skip it and you’ve made rolls.
Cooling & speed racks
Hot bread has to go somewhere to cool, and in a small kitchen that somewhere is a speed rack (a tall, wheeled rack that takes full or half sheet pans). I love speed racks because they’re the most flexible cubic feet in the building — proofing, cooling, holding, transporting out to the truck. Buy two or three; you’ll always want one more. Sizing small: an end-load half-size rack tucks against a wall and rolls where you need it.
The griddle line
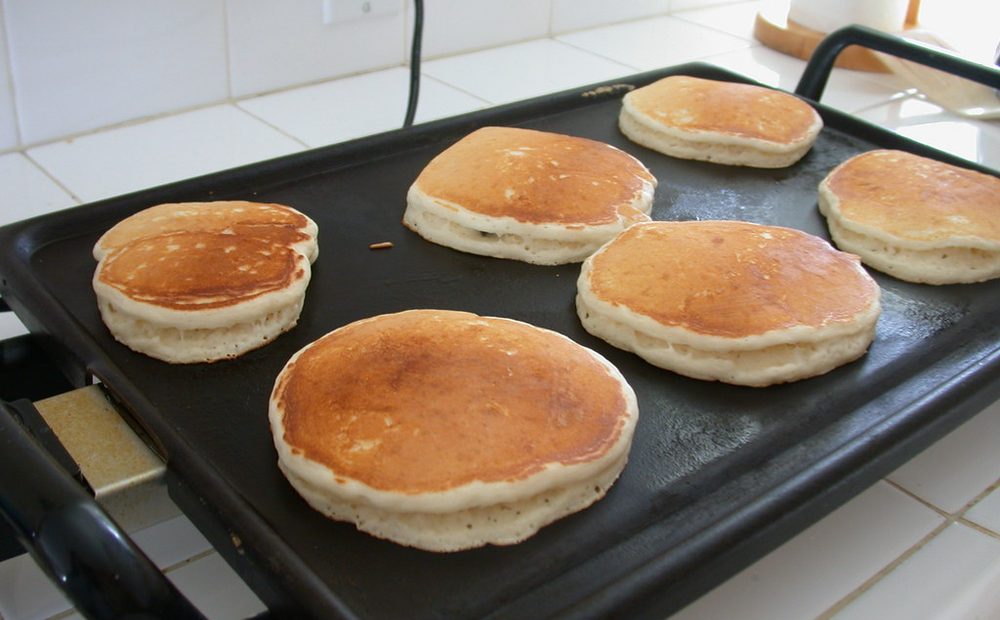
For breakfast sandwiches I run an electric flat-top griddle — fry the eggs, toast the cut sides, warm the sausage, build the sandwich. I chose electric here very deliberately: an electric griddle can often run without a full grease hood where a gas one couldn’t, which keeps my placement options open in a small space (again, see Electric vs. gas for the hood logic — and always confirm grease-load rules with your local mechanical code). A 24–36” griddle is plenty for a bakery that does sandwiches as a sideline rather than a diner’s worth of them.
The jam & jelly station
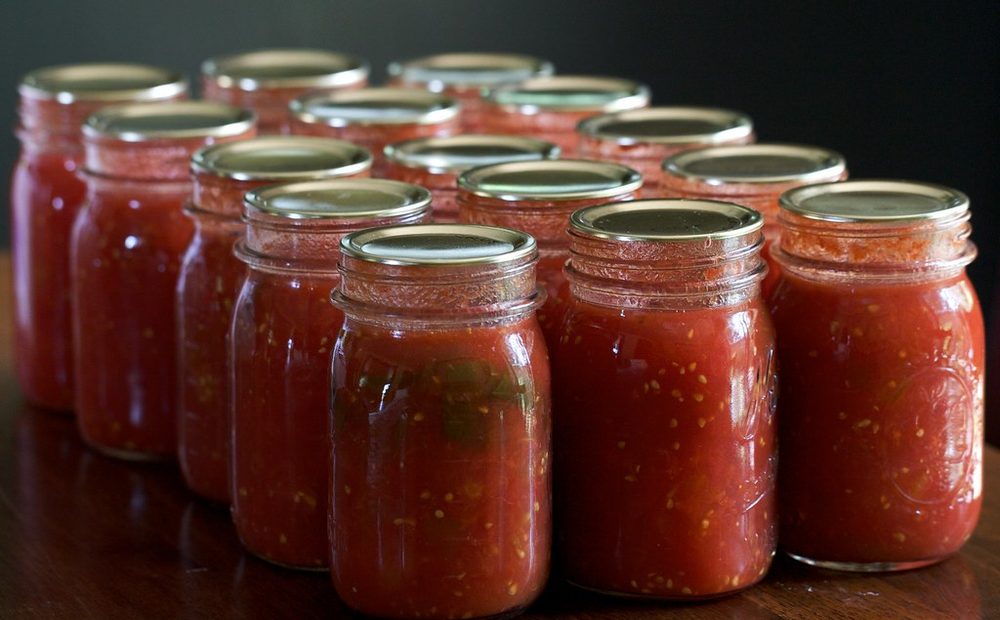
The preserves side wants its own corner so hot sugar work never collides with dough. I keep a heavy jam/jelly kettle (a wide, heavy-bottomed pot — thin pans scorch fruit fast), a rack of jars and fresh lids, a jar lifter and funnel, and a water-bath canner for the high-acid processing. Jams and jellies are high-acid, so water-bath canning is all they need — the full method, the pH 4.6 rule, and why that matters is on my Canning page, and I’ve got dozens of jam recipes to run through it. Jams and jellies also happen to be one of the few things Michigan’s cottage-food law lets you sell from a home kitchen, which is worth knowing as you scale (details on The Numbers).
Warewashing — the code basics
This is where the health inspector looks first, so get it right. A small food establishment generally needs three separate sinks, and they are not interchangeable:
| Sink | Purpose | Why it’s separate |
|---|---|---|
| 3-compartment sink | Wash → rinse → sanitize your pans and smallwares | Manual warewashing requires three basins so the three steps never mix |
| Hand sink | Hand-washing only | Must be dedicated and easy to reach; you can’t wash hands where you wash dishes |
| Mop sink | Floor cleaning, dumping mop water | Keeps dirty floor water out of everything else; usually a floor-level basin |
Plus a grease trap if your drains need one, and hot water enough to actually sanitize. Sizing small: the three sinks can line one wall, but they must be three. This is the part people try to shortcut and it’s the part that fails an inspection cold.
Refrigeration & freezer
Two reach-ins cover a small bakery: a refrigerator for butter, eggs, fillings, and sandwich components, and a freezer for holding dough, laminated pastry, and buffer stock. I’d take two good reach-ins over a walk-in for a shop this size — cheaper to buy, cheaper to run, and you don’t lose the floor. Buy the best-condition compressor you can afford; refrigeration is the thing most likely to bite you on a used purchase (see Buying used).
Worktables, shelving & smallwares
Underneath all the named zones is the connective tissue: stainless worktables (indestructible, sanitary, the right work height), more wire shelving for pans and storage, and a deep bin of smallwares — sheet pans and screens, bench knives, a good digital scale (bread is weighed, not measured), bowls, thermometers, spatulas, cooling grids, jar tools, storage containers. Smallwares are easy to underbudget and you buy them forever; I keep a running list and grab them used whenever I see a restaurant closing out.
Add it all up and a lean, mostly-used electric build lands far cheaper than people expect — I break every line item down, new-vs-used, on The Numbers. And if the brick-and-mortar isn’t ready yet, you don’t have to wait to start cooking: see Starting in a food truck, the bridge that lets the kitchen earn while you build it.
Comments (0)