Roasting Your Own
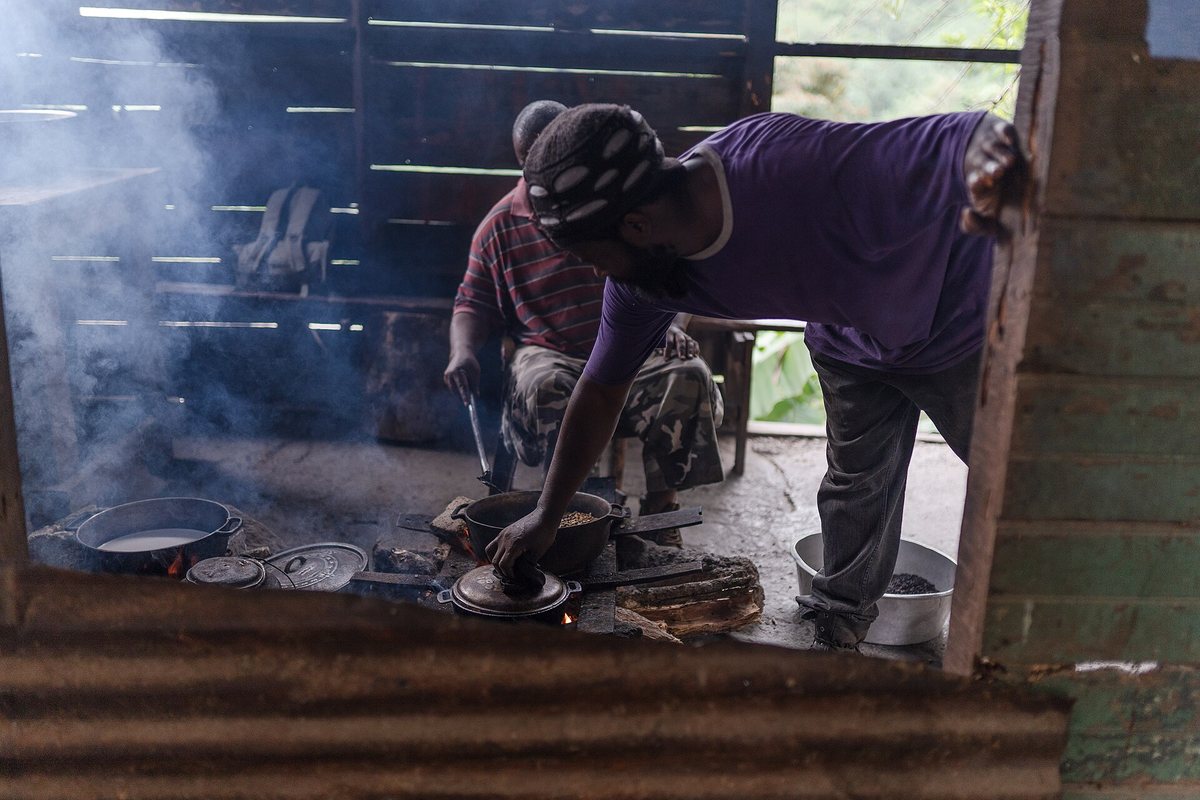
Here’s a thing that took me too long to appreciate: roasting coffee is cooking. It isn’t a mysterious industrial process that happens in a warehouse and arrives in a foil bag. It’s applying heat to a seed until chemistry happens, and you can do it in a pan on your stove tonight for the price of the beans. If you’ve ever pulled a brisket at exactly the right internal temp, or watched a loaf spring in the oven, you already have the instincts this needs — heat, time, your ears, your nose, and the discipline to stop at the right moment. The science of what’s happening in the bean has its own page, and the machines another. This page is about the doing.
Why bother
Money, and more than you’d guess. Green coffee runs roughly a third to half of what the same bean costs roasted — as of 2026, decent green specialty coffee lands around $6–9 a pound where the roasted equivalent is $18–25. And green coffee keeps: roasted has a three-to-four-week clock on it, but green stored cool and dry holds up a year or more. So you buy at the bulk price and roast what you need — a fundamentally better supply chain than two-week-old bags at retail.
Freshness you cannot buy. The real argument. Coffee is at its best from about three days off roast out to maybe four weeks. That bag on the grocery shelf has a “roasted on” date you’re not looking at, and it has been sitting there. Roast your own and every cup is inside the window, by construction. The first time you brew coffee you roasted four days ago, the difference isn’t subtle — it blooms in the filter, and it tastes like the origin instead of tasting like “coffee.”
Control. You decide the roast level. Not a roaster’s house style, not a marketing department’s idea of “bold” — you. Want that Ethiopian light enough to taste like the floral thing it actually is? Out early. Want a dark, oily bean for a Cuban or Vietnamese-style drink? Push it. Same bag, two completely different coffees, and the only variable is your judgment.
And it’s fun. Probably the honest reason most people who roast keep roasting. Heat, sound, smell, and a decision point — the same pleasure as running a smoker or dialing in a machine.
Why not — the honest version
I’d rather you go in clear-eyed than quit angry after two batches.
Smoke. Real smoke, a lot of it, especially past first crack. Not “a wisp.” Your kitchen smoke alarm will have opinions. This is the number one reason people stop roasting indoors, and why nearly every method below comes with a “do this outside or in the garage” note.
Chaff. The silverskin — the papery layer on the seed — flakes off and goes everywhere. Light, floaty, harmless, and a genuine nuisance.
Time. A roast is 10–20 minutes, plus cooling and cleanup, plus the fact that you can’t wander off during it. Half an hour of attention for what might be a week’s coffee.
Consistency. The one that stings. Your third roast will be worse than a good roaster’s worst day. Mine would be too. Repeatability is a skill, and the cheap methods make it harder — you’re the thermostat, the timer, and the agitator at once. You will scorch a batch. You will pull one too early and brew something that tastes like grass. Budget five pounds of green to bad coffee and call it tuition; everyone pays it. The people who love roasting found the tuition enjoyable.
Method 1: The skillet
The cheapest possible start, and if there’s a well-seasoned skillet on your stove already the barrier is zero. Everything in the cast iron section applies — thermal mass is exactly what you want here, evening out the flame and keeping the pan from crashing in temperature every time you stir.
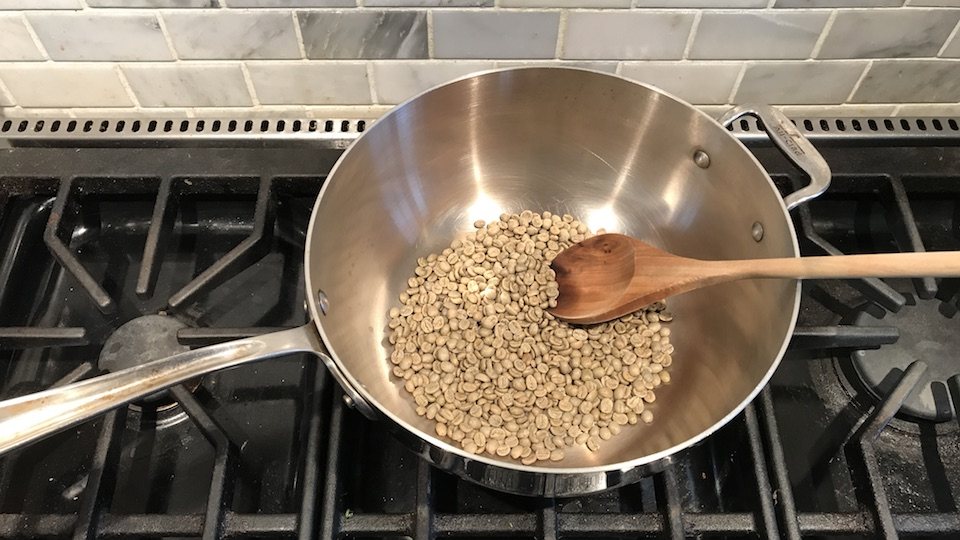
How it goes. Heavy pan over medium to medium-high, fully preheated — a cold pan wastes the first two minutes and the roast goes uneven. Add a single layer of green, maybe 4–6 oz in a 10-inch skillet. Not a pile; a pile is scorched beans on the bottom and raw beans on top. Then stir constantly — wooden spoon, continuous motion, the entire roast. The instant you stop, the beans touching the iron cook faster than the ones that aren’t. Roughly 12–18 minutes to first crack.
Honest assessment: it works, it’s free, and it makes genuinely drinkable coffee. It’s also the least even method here — a spread of light and dark in the same batch, which tastes muddled. Some of that spread is charming and rustic. This is, not coincidentally, how coffee was roasted for most of its history, and how the Ethiopian coffee ceremony still does it over coals. Good enough to build a global commodity on is good enough for a Saturday.
Method 2: The oven
Slightly more even, much less babysitting, and it scales to a bigger batch.
Setup: a perforated tray — a pizza screen, a mesh baking sheet. The perforation is the whole point; airflow underneath keeps the bottom of the bed from scorching, where a solid cookie sheet gives you burnt bottoms and pale tops. Preheat to about 230–260°C (450–500°F), single layer, shake every 60–90 seconds for the whole roast. Roughly 10–16 minutes. Open a window — the smoke is now inside your oven, which means it’s inside your kitchen a minute later.
Honest assessment: more even than the skillet, and you can do a pound at a time. But home ovens aren’t built for this — most run a hot side, most lie about their temperature (the same complaint I have about them for bread), and chaff ends up in your element. A solid way to find out whether you like roasting before spending a dollar.
Method 3: The popcorn popper
The classic — the hobby’s entry drug for forty years, and the first method here that’s actually good rather than merely possible, because it’s a real fluid-bed roaster wearing a disguise.
It must be an air popper, and it must be side-vented. Not a preference — the whole thing. You want a hot-air popper, not an oil/stirring popper (a hot plate with a lid, which will scorch your beans). And within air poppers, you want the heating element and airflow entering from the side of the chamber, not straight up from a bottom grate. Side-vented poppers create a proper swirling fluid bed that keeps every bean moving; bottom-vented ones let beans sit still and burn. Vintage models are hunted for exactly this reason.
Load is small — around 80–120 g. Too much and the bed won’t fluidize; too little and beans get flung out. It’s fast: 4–7 minutes to first crack. That speed is the popper’s gift, and fluid-bed roasting generally gives a notably clean, bright cup.
The thermal fuse problem. Here’s where the maker in me starts twitching. A popper is built to pop corn — a job over in three minutes — so it has a thermal fuse that kills it when it gets hotter than popcorn ever needs. Coffee runs hotter and longer than that. So on a cool day, or with a big load, a stock popper simply shuts off mid-roast, usually right when it’s getting interesting. It’s the most common frustration in popper roasting.
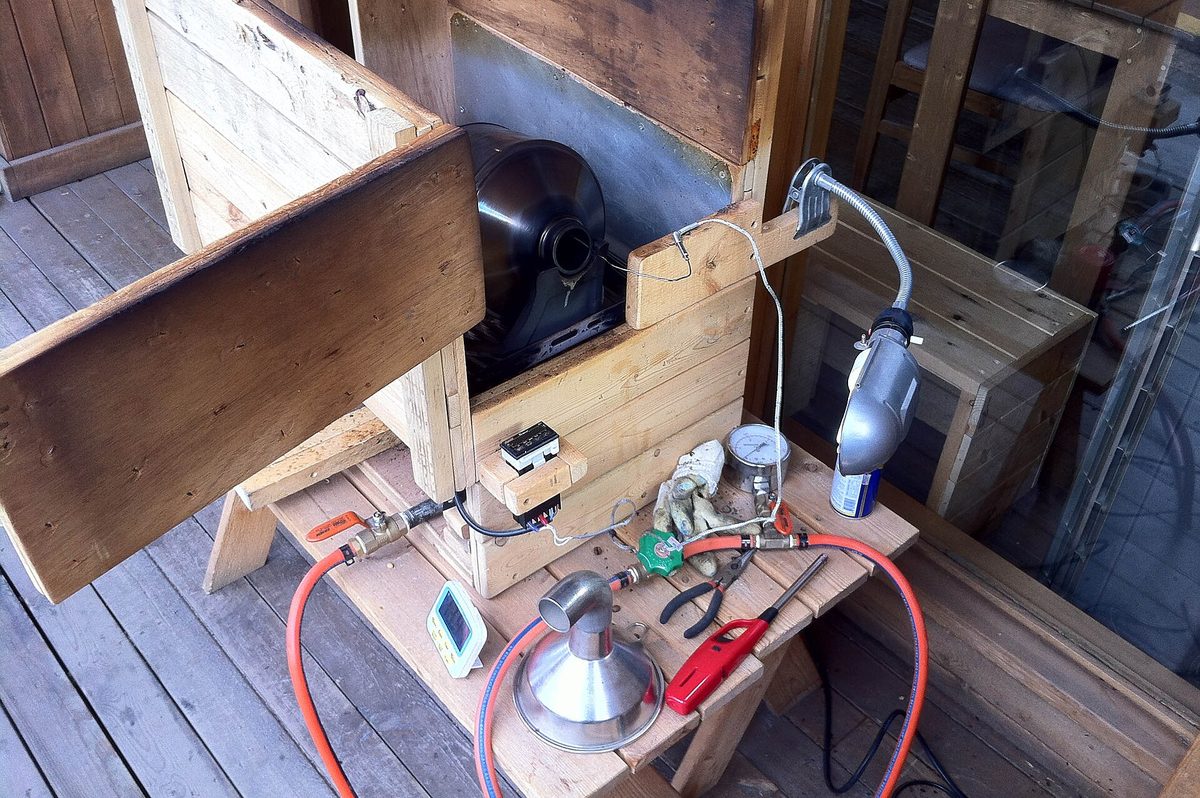
The mod path, where this gets interesting for anyone with a bench: the community fix is a controller box that separates the heating element from the fan, so you can run the fan full to keep the bed moving while dialing heat independently. Typically a variac or dimmer on the heater circuit, a separate feed for the fan motor, and often a thermocouple in the bean mass so you’re roasting to a number instead of a hope. A satisfying little project that turns a $25 appliance into something punching at several hundred dollars.
Safety, and I’m not being cute. You’re running a mains-powered heating appliance past its design envelope, with a fire risk, producing volumes of smoke. Do it outside, or in a garage with the door up. Never under cabinets. Never unattended, not for ten seconds. And if you modify one, you’ve voided every protection its designer built in — including the fuse whose entire job was to stop a fire.
Method 4: Heat gun and a bowl
The maker’s hybrid, and the one I’d point a shop person at first — the best control-to-cost ratio on this page.
The simple version: a heat gun in one hand, a metal bowl (the classic is a stainless dog bowl — cheap, heavy, right shape) in the other, wooden spoon stirring continuously. Hold the gun a few inches off the beans and keep everything moving. What makes it good is that you are the heat curve: gun closer, more heat; pull back, less. You can ramp hard into first crack and then back off to stretch development — genuine profile control, the thing thousand-dollar roasters are selling. In the right hands it beats every method above it.
The bread machine upgrade is the clever refinement: take a bread machine with a working dough/knead cycle, set it to knead, and let the paddle stir for you. Beans in the pan, heat gun aimed down into it, and you’ve got continuous mechanical agitation and a free hand. A capable little roaster built from two things people give away, handling a bigger batch than a popper ever will.
The trade: loud, hot, you’re over it the whole time, and the gun works hard for 10-plus minutes straight. Outside or garage — the smoke here is substantial.
Method 5: The stovetop crank
The Whirley-Pop — the stovetop popcorn maker with the hand crank and wire stirring arm — is beloved by roasters for one reason: the stirring problem is solved. You crank, the arm sweeps the bottom, no bean sits still. About $25–30, no electronics to fail, respectable batch size.
You run it over medium-high, crank steadily, and go by ear — it’s a covered pan, so you judge by sound and by the smoke off the lid, popping it periodically to look. Meaningfully more even than a skillet for the same money and simplicity. It’s the method I’d hand someone who wants a real roast tomorrow, has no bench, and doesn’t want a project. Cheap, even, proven, lasts decades.
The craft — the parts every method shares
The method is the easy part. This is the part that actually decides whether the coffee is good.
Batch size. Roast small. Every method above works better with less in it — a thin bed, room to move, air getting everywhere. The universal beginner mistake is overloading, which drops your temperature, kills agitation, and hands you an uneven batch. Also: beans lose roughly 15–20% of their weight, mostly water. 100 g green gives about 82 g roasted.
First crack — the only landmark that matters. Around 196°C (385°F) the beans make an audible crack, like a quiet popcorn pop, as steam pressure ruptures the cell structure. Once you’ve heard it you’ll never miss it again. This is the moment coffee becomes coffee, and your reference point for everything:
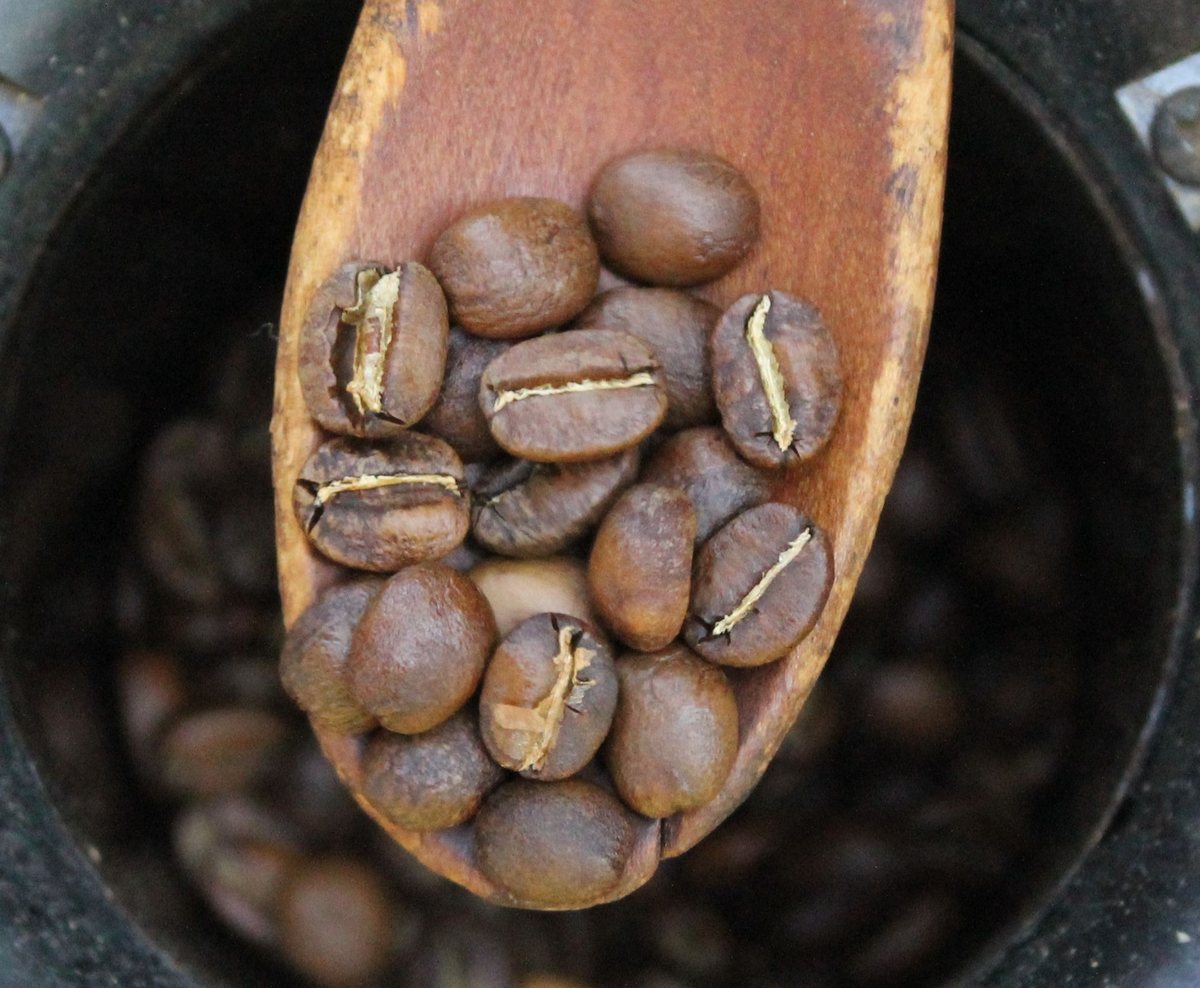
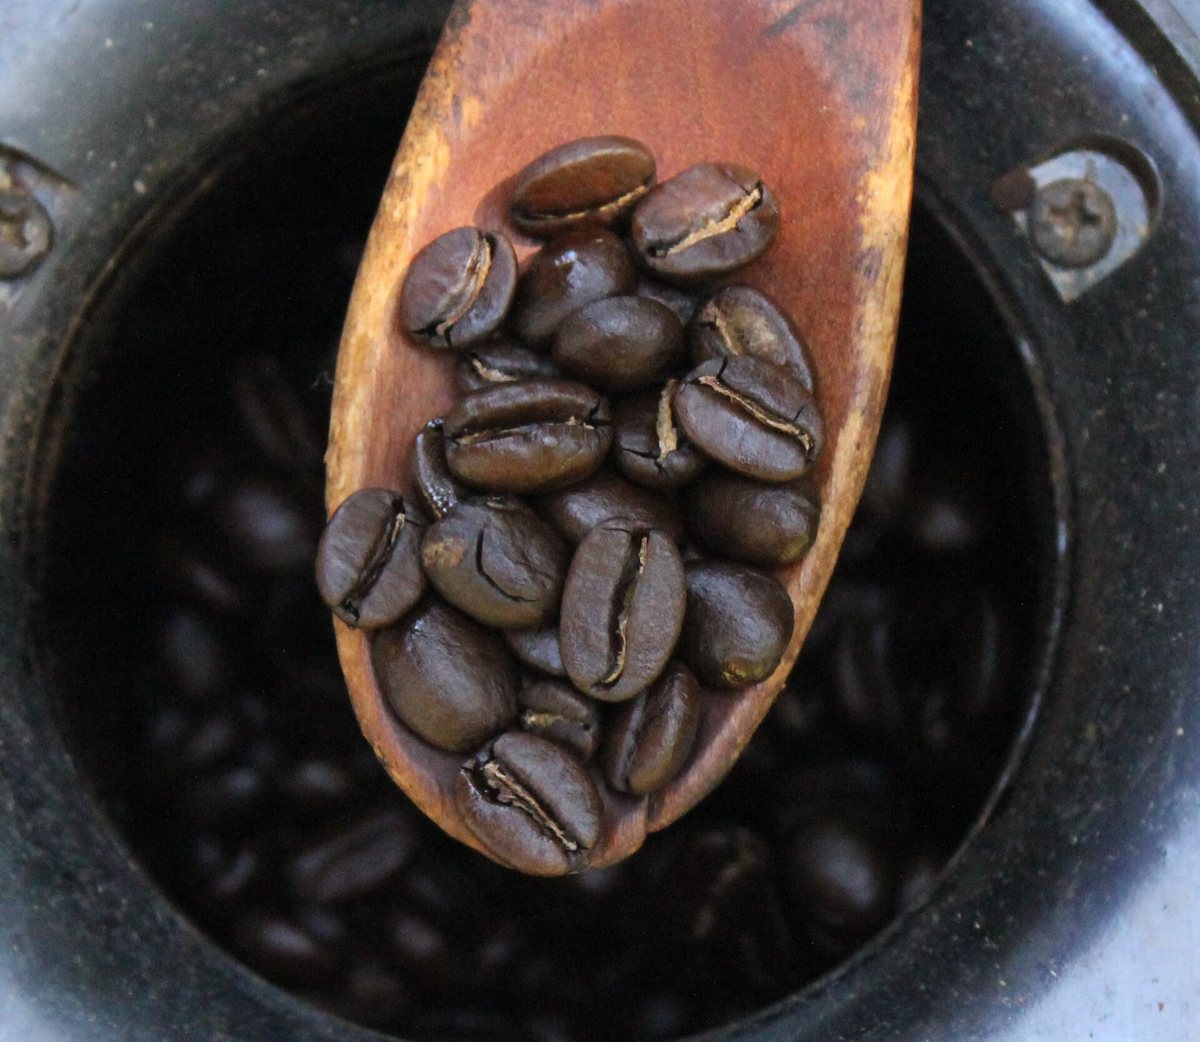
- Stop shortly after first crack ends → a light roast. Bright, acidic, origin-forward.
- Ride it a bit past → medium. Balanced, sweet, rounded. The safest first target.
- Keep going and you’ll hit second crack — quieter, sharper, more of a crackle — which is dark territory. Oils come to the surface. Origin character burns off and roast character takes over.
Between first and second crack you have maybe two to four minutes of usable range, and that window is the entire art. Aim for medium on your first several roasts — the most forgiving target, and the one that tells you the most about what you did.
Chaff. The silverskin flakes off around first crack and goes airborne. Fluid-bed methods blow it clear out of the chamber; pan methods leave it in with the beans, where it mostly blows away during cooling. A housekeeping problem, not a quality one — but it’s flammable, so don’t let it pile up near a heating element.
Cool fast — not optional. The moment you hit target, the beans are still full of heat and still roasting. Dump them in a bowl and walk away and you’ve handed them another 30–60 seconds of roast you didn’t choose. The classic fix: two metal colanders, pouring the beans back and forth between them — the tumbling dumps heat and throws the chaff off — in front of a box fan or outside in moving air. Under four minutes, faster is better. Cheapest, highest-leverage habit here.
Degas — then wait. Fresh-roasted coffee is loaded with CO₂ and it needs to get out. Brewing at 12 hours gives a gassy, foamy, sour, hollow cup, because the gas physically interferes with water reaching the grounds. Rest 12–72 hours; 24–48 is the sweet spot, and darker roasts (more porous) want less than light ones. Then you’re good through three or four weeks.
Storage. Airtight, opaque, room temperature, away from heat. A one-way valve bag or valved canister is ideal — CO₂ out, oxygen not in. Do not seal fresh coffee in a rigid jar and forget it; the gas has to go somewhere and it’ll pressurize. And don’t freeze your daily beans.
Buying green. The reference name for US hobby roasters is Sweet Maria’s — the well-known green source for a very long time, with detailed origin notes and roasting write-ups, and where most people’s first bag comes from. Plenty of other good sellers exist; that’s just the one everybody’s heard of. Buy a sampler rather than eight pounds of one thing, and store green breathable — a jute or cloth bag, cool and dark. Fine in a year.
Your first roast, tomorrow
Here’s a plan you could actually follow. It uses a skillet because you have one.
- Buy a pound of green. Something forgiving — a washed Central American, a Brazil. Not the fancy Ethiopian; save that for when you know what you’re doing.
- Set up outside, or in the garage with the door open. Have your two colanders and a box fan ready before you start. This is the step people skip and regret.
- Weigh 100 g of green. Small. Resist the urge.
- Preheat the skillet on medium-high until it’s hot all the way through.
- Beans in, single layer, start stirring. Don’t stop. Set a timer to learn your numbers.
- Watch the color march: green → yellow → a smell like toast or hay → light brown → cinnamon. Around here it starts smelling like actual coffee and you’ll grin.
- Listen for first crack — roughly 10–15 minutes in, distinct pops. Note the time.
- Go 60–90 seconds past the end of first crack. That’s a medium roast. Trust the clock over your eyes; the smoke will make you panic and pull early.
- Dump into a colander immediately and pour back and forth in front of the fan until cool to the touch. Two minutes. Watch the chaff fly.
- Jar them, lid cracked, walk away for 24 hours. Then grind and brew.
That cup will not be the best coffee you’ve ever had. It’ll be uneven and a little muddled, and it will be yours — and four days later when you brew the rest of it you’ll understand what freshness actually tastes like. Then you’ll do it again, better.
Once you’ve done it a dozen times and you’re tired of being the thermostat and the stirring arm, go read about the machines — you’ll finally know what you’re asking them to do for you. Downstream from here is brewing and espresso; upstream is the bean and where it grew. Go burn a batch.
Comments (0)